
What’s a good technique to de-stress a weekend via learning how to do facial at-home short self-pampering?
Getting a facial once a month is an extraordinary method to give your skin the supplements and TLC it needs. After a facial, your skin is left recharged, saturated, peeled, and revived. A facial can be tweaked relying upon your skin type and your particular arrangement of issues. Nutrients that you use in your facial can have a significant effect on making your skin look sparkling.
Having that dull and wrinkled face! Have you taken a stab at having a facial to get your energy?
Indeed, it’s generally picked by men as well as ladies, to get that spotless and clear youthful skin back. The facial gives you an ideal sparkle, yet additionally helps in other skin treatments like peeling, saturating, and significantly more. Therefore, a facial kit for home use additionally arrives in an assortment of packs to choose from as per your skin.
Best facials for parlour and for professionals
How to do a facial at home step by step carefully?
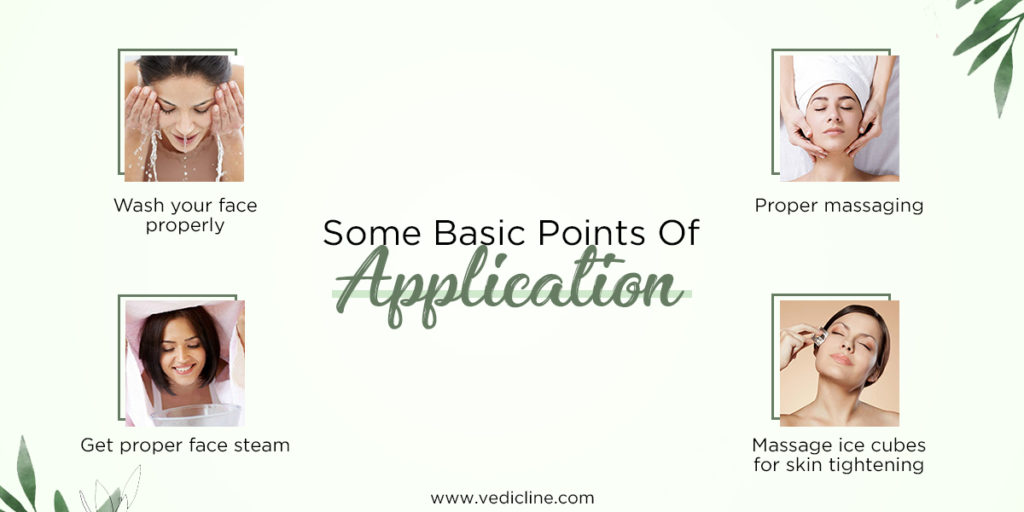
Giving yourself a facial at home isn’t pretty much as extreme as it might show up. It’s quite simple and an incredible DIY movement to enjoy more than once per month. Most facials have 5 essential advances. Follow these simple advances and you’ll be headed to giving yourself the lowest, gentlest skin around!
Best facial cleansers
Step 1: Cleanse
-
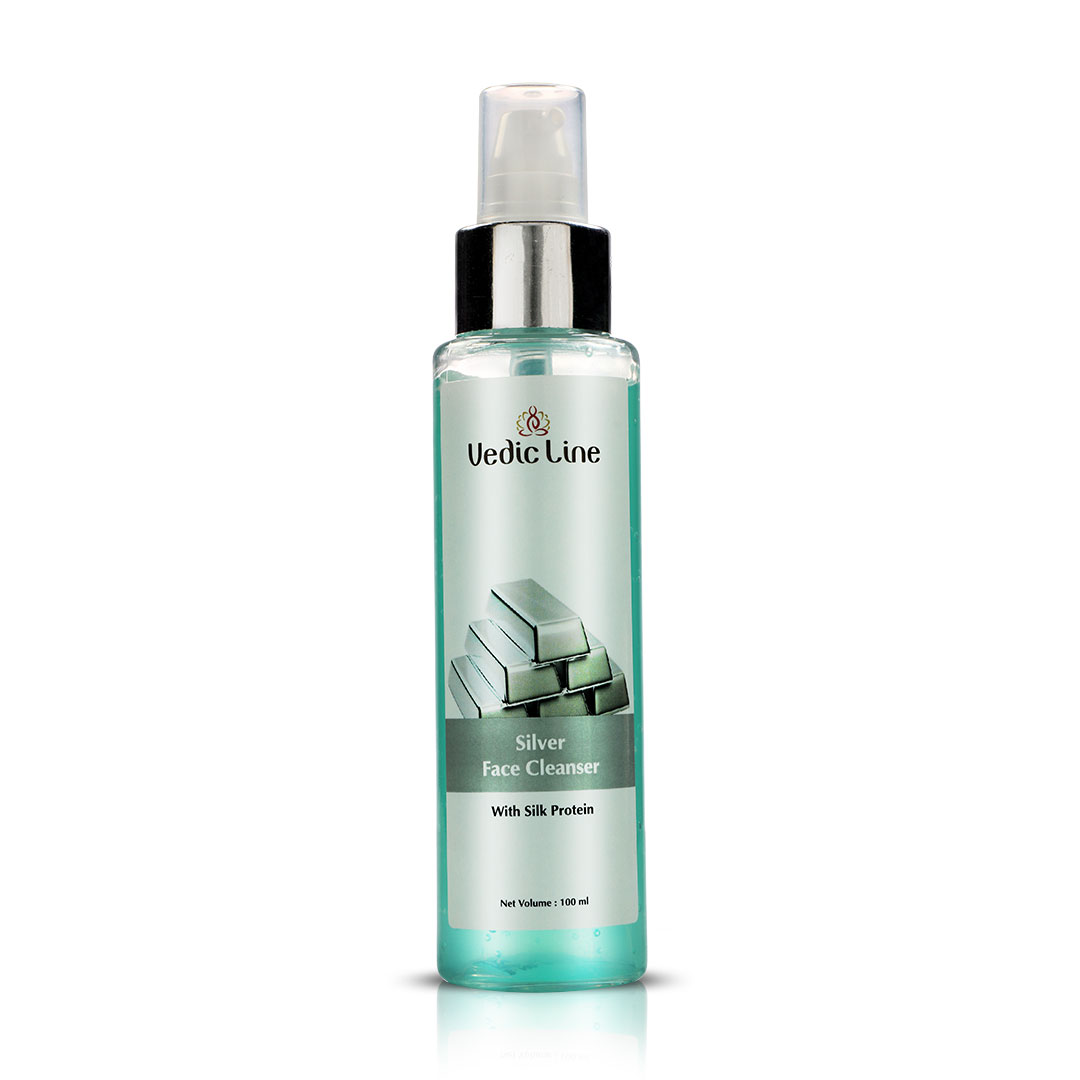
 Silver Face Cleanser₹140.00
 -
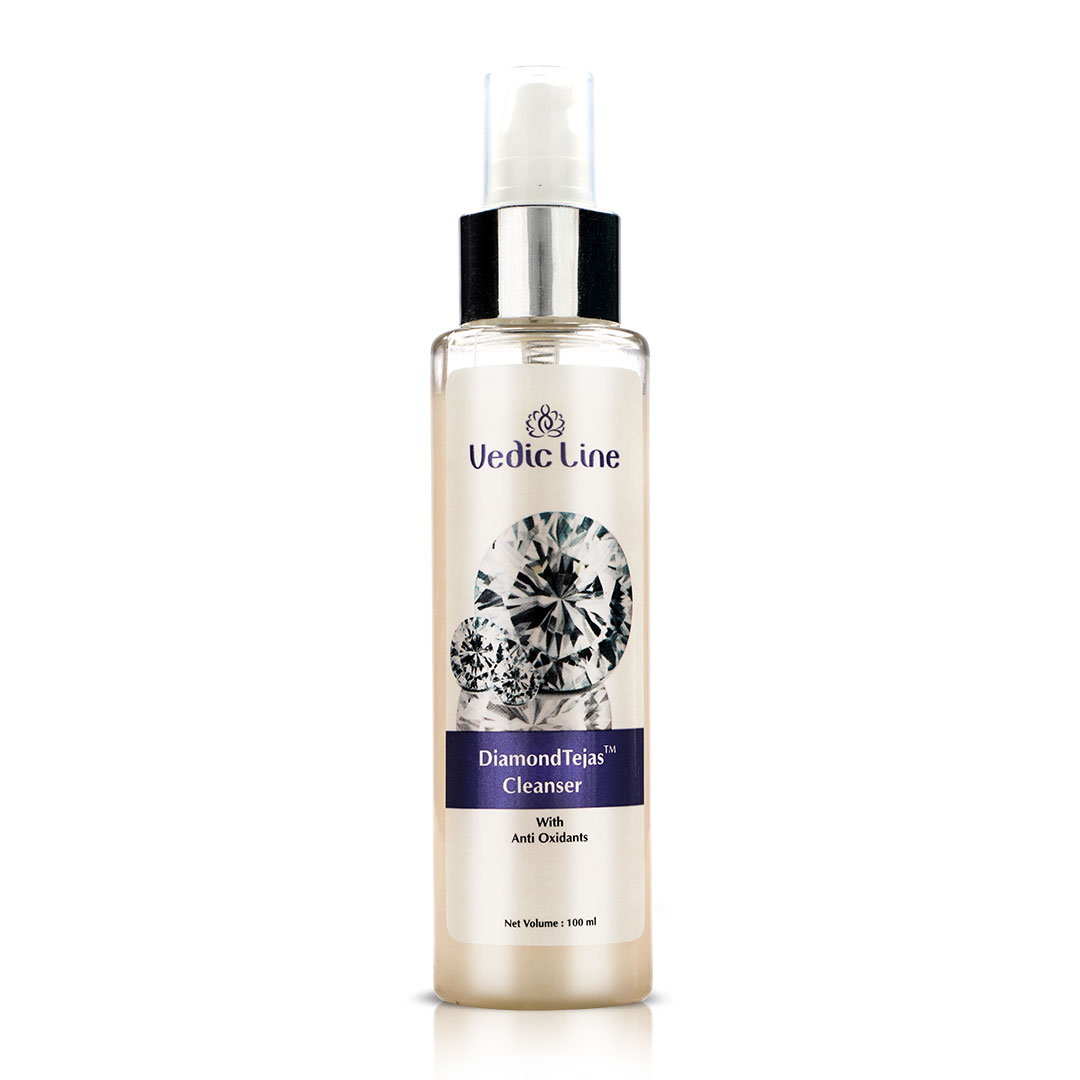
 Diamond Tejas Face Cleanser₹220.00 – ₹480.00
You need to begin with a spotless face. Most facial kits come outfitted with a chemical. Start by applying chemicals to your skin and delicately focus on round movements. Utilize a purifying brush or silicone purging brush to rub the cleaning agent into your skin in upward round movements. Whenever you’ve rubbed it in briefly or thereabouts, wash it off with tepid water.
Step 2: Scrub
-
 Jasmine Cleansing Scrub₹240.00 – ₹800.00
 -
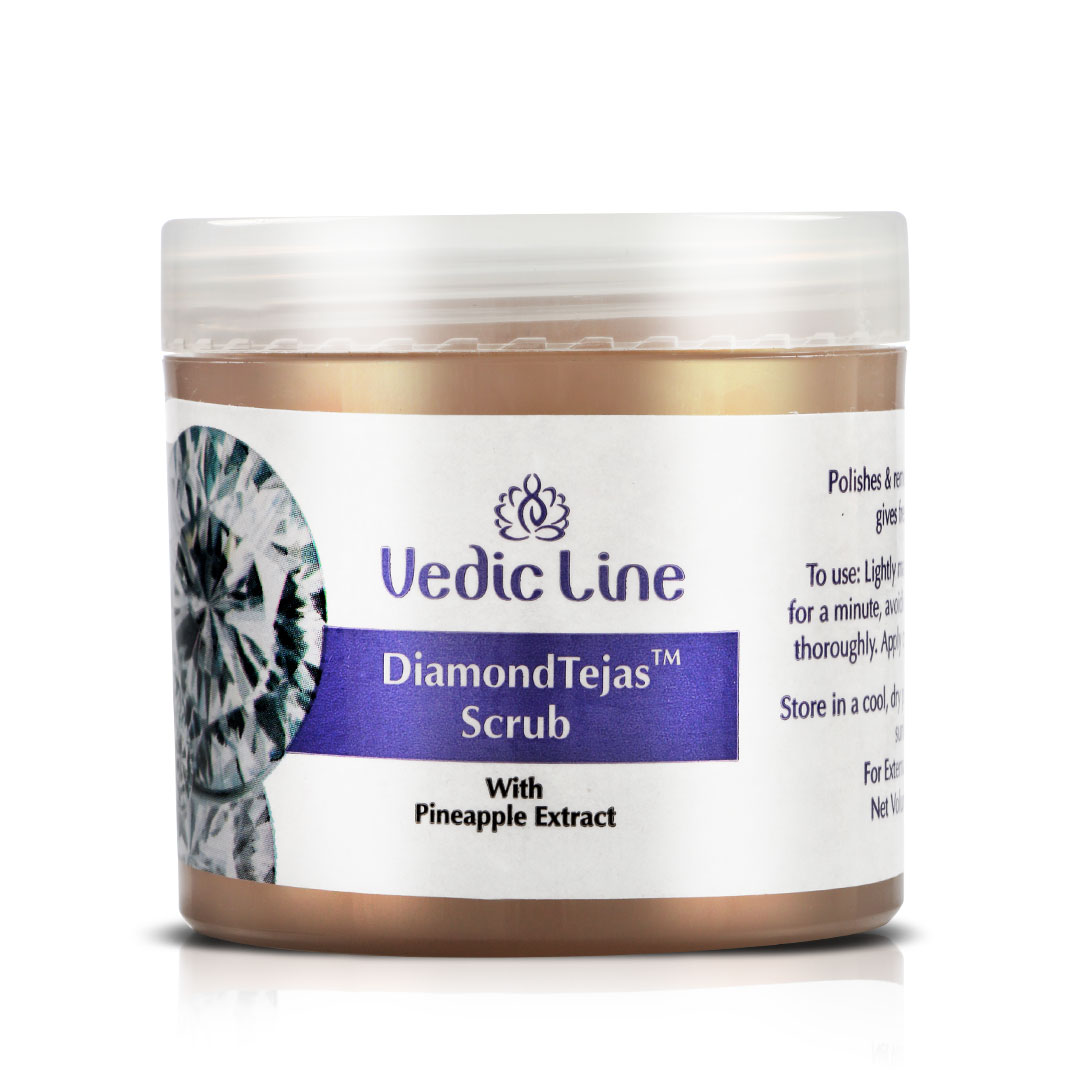
 Diamond Tejas Scrub₹300.00 – ₹950.00

Your facial pack will have a delicate scour intended for your particular concern. Apply the scour to your face and neck and tenderly rub everything over. The scour will assist you with disposing of dead skin, dry skin. Wash it off utilizing tepid water.
Step 3: Steam
Steaming your face opens up your pores and eliminates any pollutants from the profound inside. You can take steam previously or after you scour your face. Steam your face utilizing a facial liner.
Therefore, one of those ways includes plunging a washcloth in warm water and applying it to your face. Do this a couple of times until your face feels easily hot. Fill a vessel with boiling water and spot it on a table. Put your face over the heated water sufficiently close that the steam goes onto your skin. Cover your head with a towel to guarantee that your skin is getting all the steam from the boiling water.
If you have clogged pores; after the steam is the best an ideal opportunity to focus to eliminate them. In case you’re a specialist, you should dispose of zits and whiteheads now. If you don’t have the idea of how to utilize a zit device, a strip of nose pore strip will help!
Step 4: Mask and Massage
-
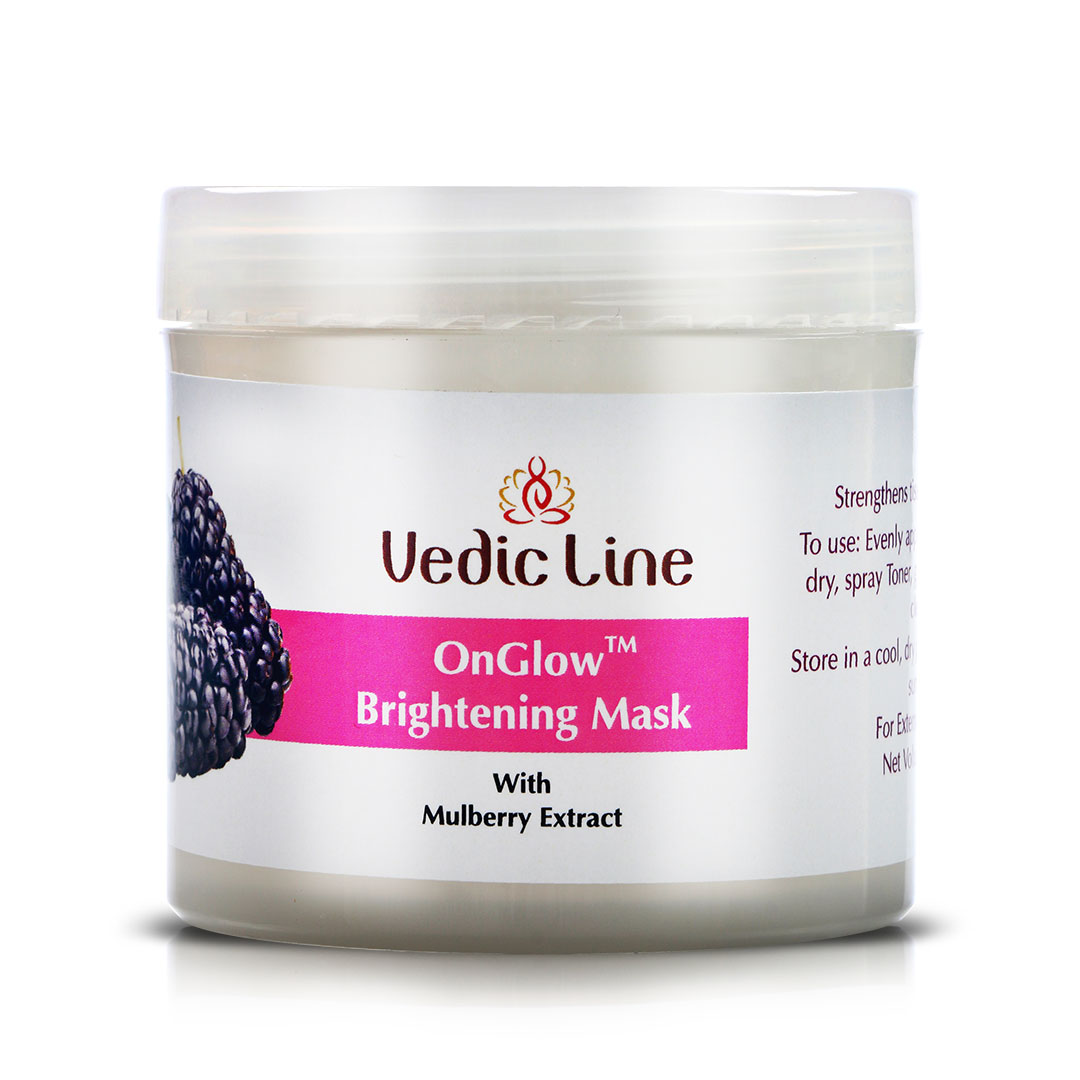
 OnGlow Brightening Mask₹240.00 – ₹850.00
 -
 Bio White Cryo Mask for Mature/ 30+ Skin₹175.00

The subsequent last advance in your facial pack will be a face cover. Contingent upon your facial kit, this could be a saturating cream, mud cover, or even a sheet mask. Therefore, if your facial pack comprises a face cream, then back rub your face and neck utilizing this cream. Utilizing a facial massage instrument or a Guasha stone may assist you with getting further into those facial muscles. However, Utilize a washcloth or a purifying wipe to clear off any excess cream.
Step 5: Moisturize
-
 Sandalwood & Turmeric Moisturizer₹168.00 – ₹240.00
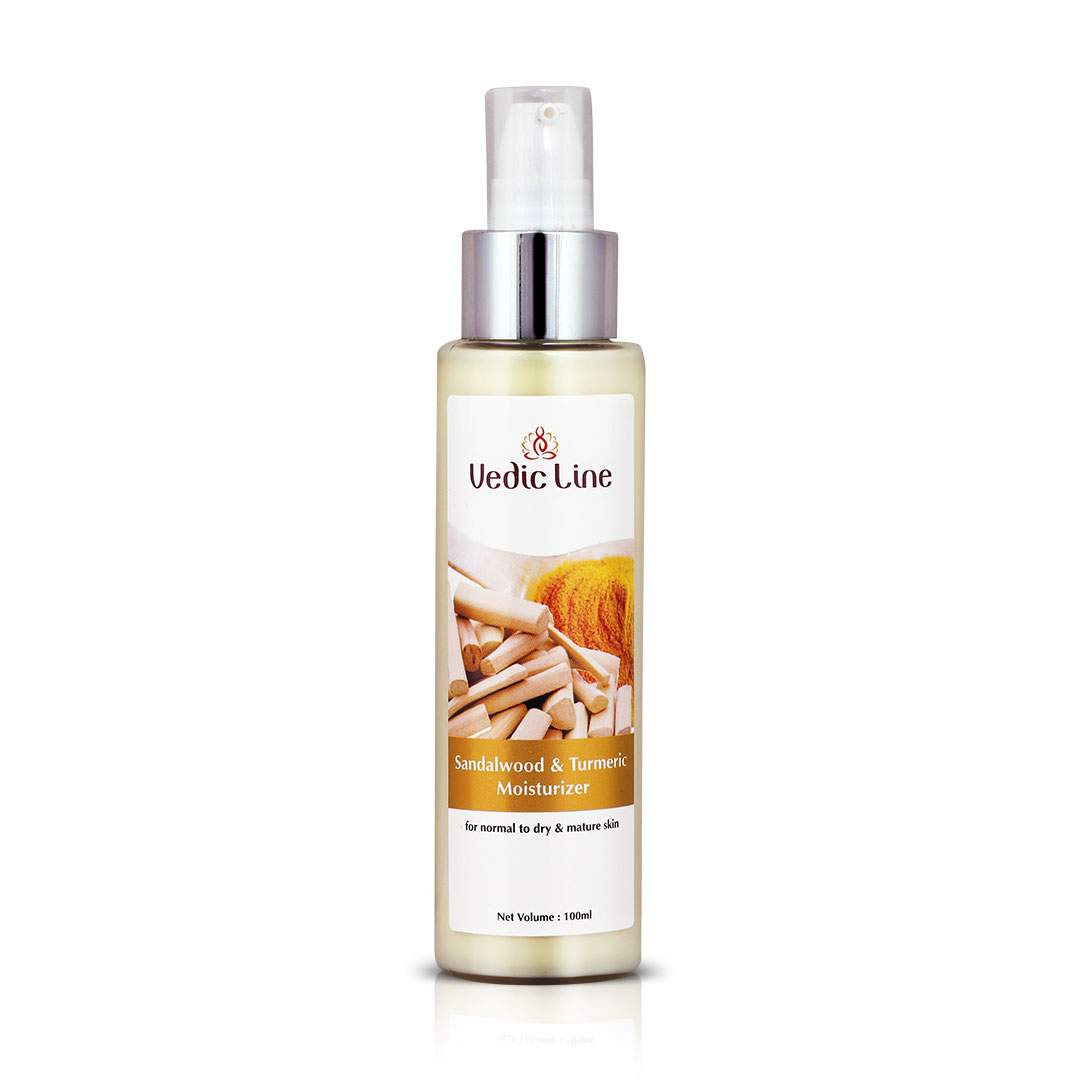
The absolute last advance in any facial is to saturate. You can utilize the cream remembered for your pack or utilize a sheet cover. Leave the sheet cover on for 20 minutes and back rub in the abundance into your skin. In case you will venture out during the day, remember to apply sunscreen. You ought to preferably avoid cosmetics the day you get a facial. This will permit your skin to inhale and restore.
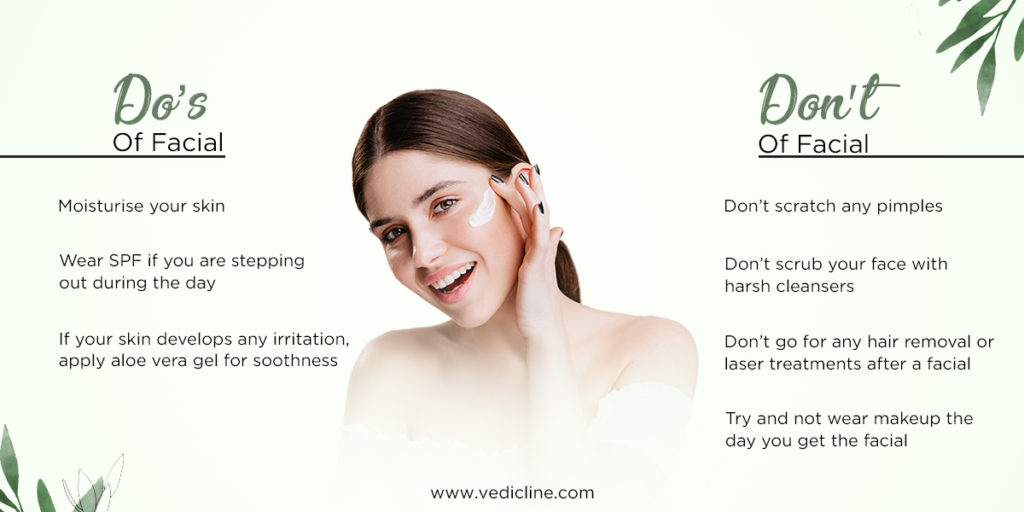
Do’s And Don’ts After A Facial
Here are a few things to remember after you have gotten your facial
Do’s :
- Hydrate your skin with a lightweight cream
- Wear SPF if you are venturing out during the day
- Allow your skin to inhale if conceivable the day after the facial
- If your skin builds up any bothering, apply aloe vera gel or calamine moisturizer to mitigate your skin
Don’t :
- Try not to scratch any pimples
- Try not to scour your face with brutal cleaning agents
- Try not to go for any hair evacuation or laser treatment after a facial
- Attempt and don’t wear cosmetics the day you get the facial
Benefits of how to do facial at home by yourself?
Cheaper than parlour
Giving yourself a facial at home can be very engaging and financially savvy. A facial in the salon regularly cost upwards of Rs 500 and anyplace up to Rs 3,000. However, the facial kit they use in the salon costs equivalent to the sum they charge you for the treatment. Occasions may bode well in putting resources into the facial kit instead of going to a salon for facials.
More Uses
However, spend once in a facial kit, you can get at least 3-5 uses from it because of its size. At the salon, you get just a single facial at the cost you pay. In case you’re a continuous salon guest, it may bode well to get a facial pack at home.
Quality Control
Frequently in the salon, you can’t handle the brands or the items they use on your skin. In case you’re more delicate with specific items, giving yourself a facial at home allows you to control cleanliness.

Learn how to do facial at home using home remedies?
Indeed, facial kits are not difficult to utilize however there’s an alternate joy related to using stuff in your kitchen. If you would prefer not to go out and spend too much, these native ingredients will act as the hero. Here are the beginning and end you need for your home facial kits!
We will let you know How to do facial at home.
1. Rice Flour
Utilize a paste of rice flour with some water to purge and shed your skin. Massage your skin for 2-3 minutes in delicate round movements and flush it off with water. The chemicals present in rice will help light up and purge your skin. Its somewhat coarse surface will likewise shed and bog off any dead skin.
2. Honey and yogurt to cover
Did you realize that nectar and yoghurt are fabulous for your skin? Honey is a humectant, it will pull in dampness to your skin, profoundly scrub your pores and dispose of irritation. Yoghurt will light up, feed, and dispose of a tan. Therefore, include a touch of turmeric powder to help dispose of skin break out and pigmentation. However, combine all the fixings as one and apply them as a face cover. Leave it on for 30 minutes and flush with tepid water.
3. Aloe vera to calm and saturate
Utilize new aloe vera gel directly from the plant to saturate. If you don’t have new aloe vera gel, you could even utilize a couple of drops of natural olive oil. However, for dry skin, consolidate a tad of olive oil with aloe vera gel and apply this to your face.
In conclusion, we are hoping that you have understood how to do facial at home? If you have any queries, kindly get in touch with our office from www. vedicline.com